
Hello and welcome, its been a while since I last blogged.
But I wanted to share with you all how to create a simple card Using the Snowflake Splendour Designer Paper.
I hope you enjoy this and Thank you so much for coming to visit <3

Snowflake Splendor Card
Kylie Bowers
Stamping with Kylie B www.kyliebowers.stampinup.net
Overview
Hello, Thank you so much for supporting my business. I want to thank you by giving you this Free Tutorial on how to make a basic yet beautiful card. If you get stuck or have any questions, please feel free to ask <3
Supplies Needed
Snowflake Splendor Designer Paper
Balmy Blue In Pad
Balmy Blue Cardstock
Balmy Blue Glimmer Paper
Label Me Lovely Punch
Snowflake Wishes Stamp Set
Adhesive (Glue and dimenionals)
Steps
Step 1.
Cut up your Papers using a Paper trimmer:Balmy Blue Cardstock cut at 14.5 on the long side, then folded at 10.5 so you have made a car base. This will be the base of your card.

Step 2.
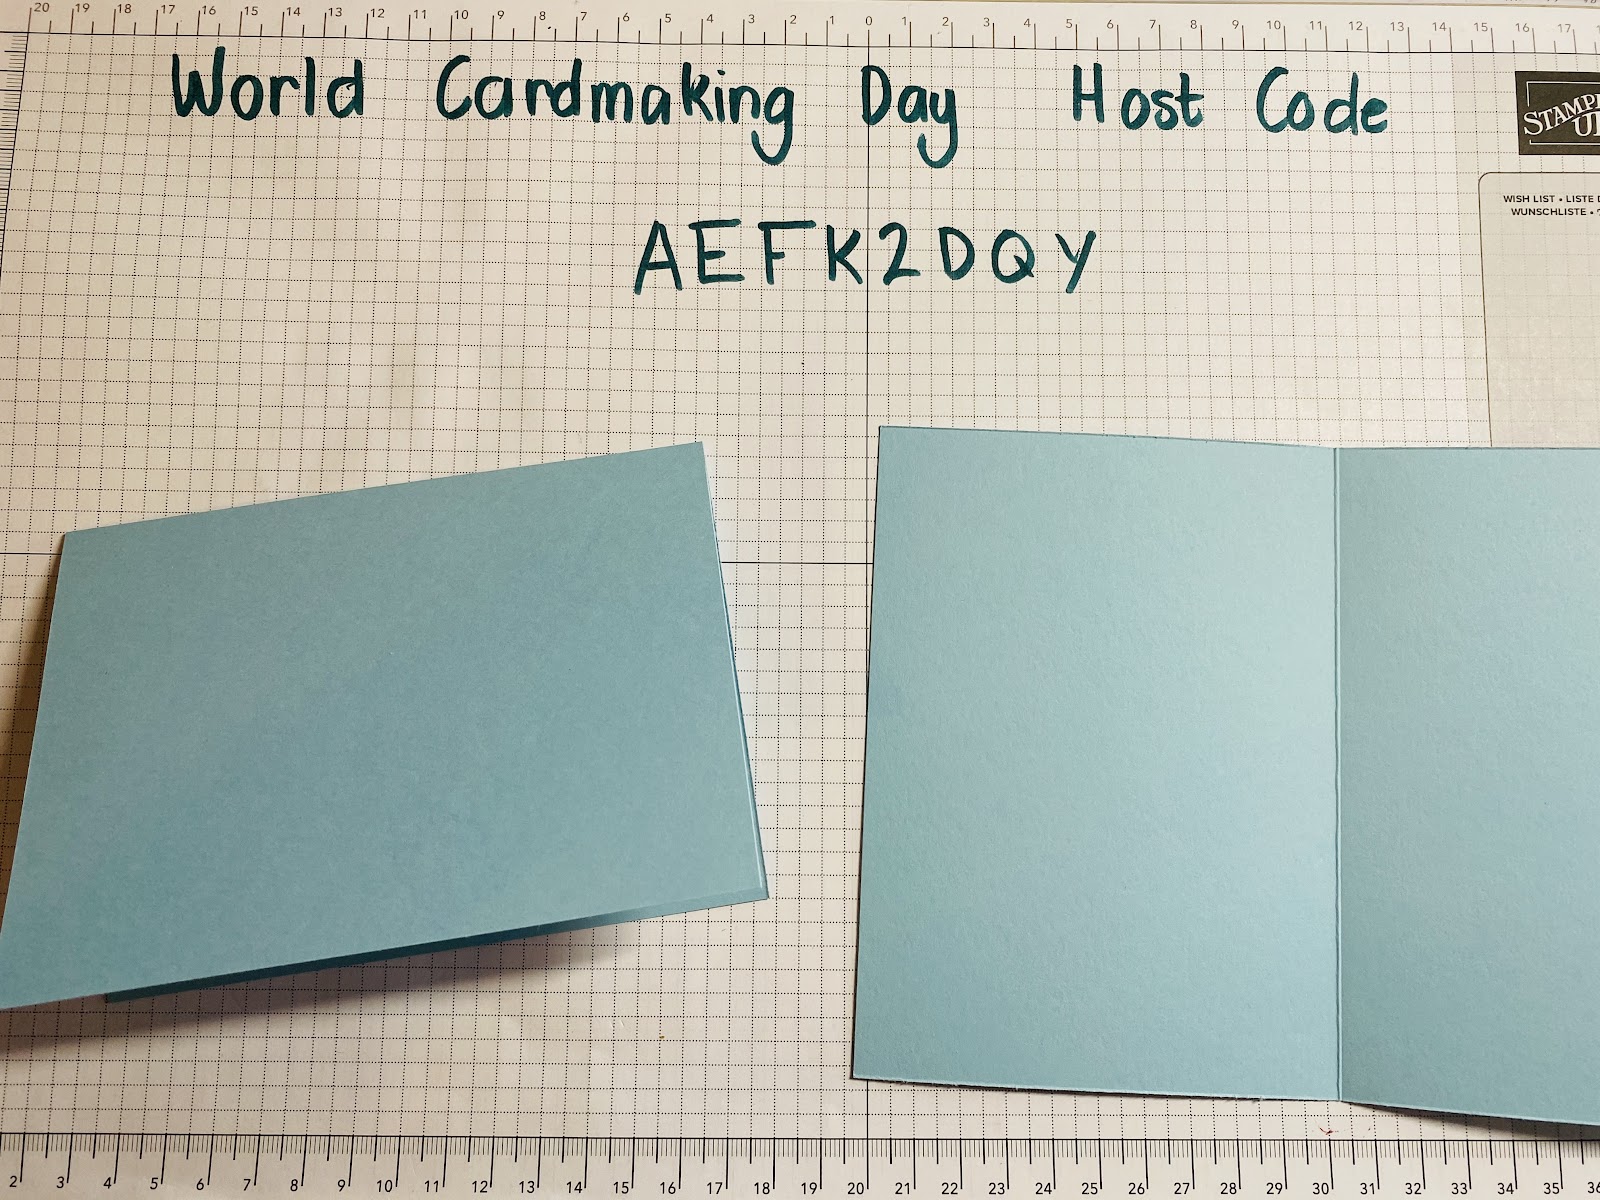
Cut up your designer Paper at 14 cm x 10 cm. By making it a tad smaller than you base cardstock it adds a nice boarder.

Step 3.
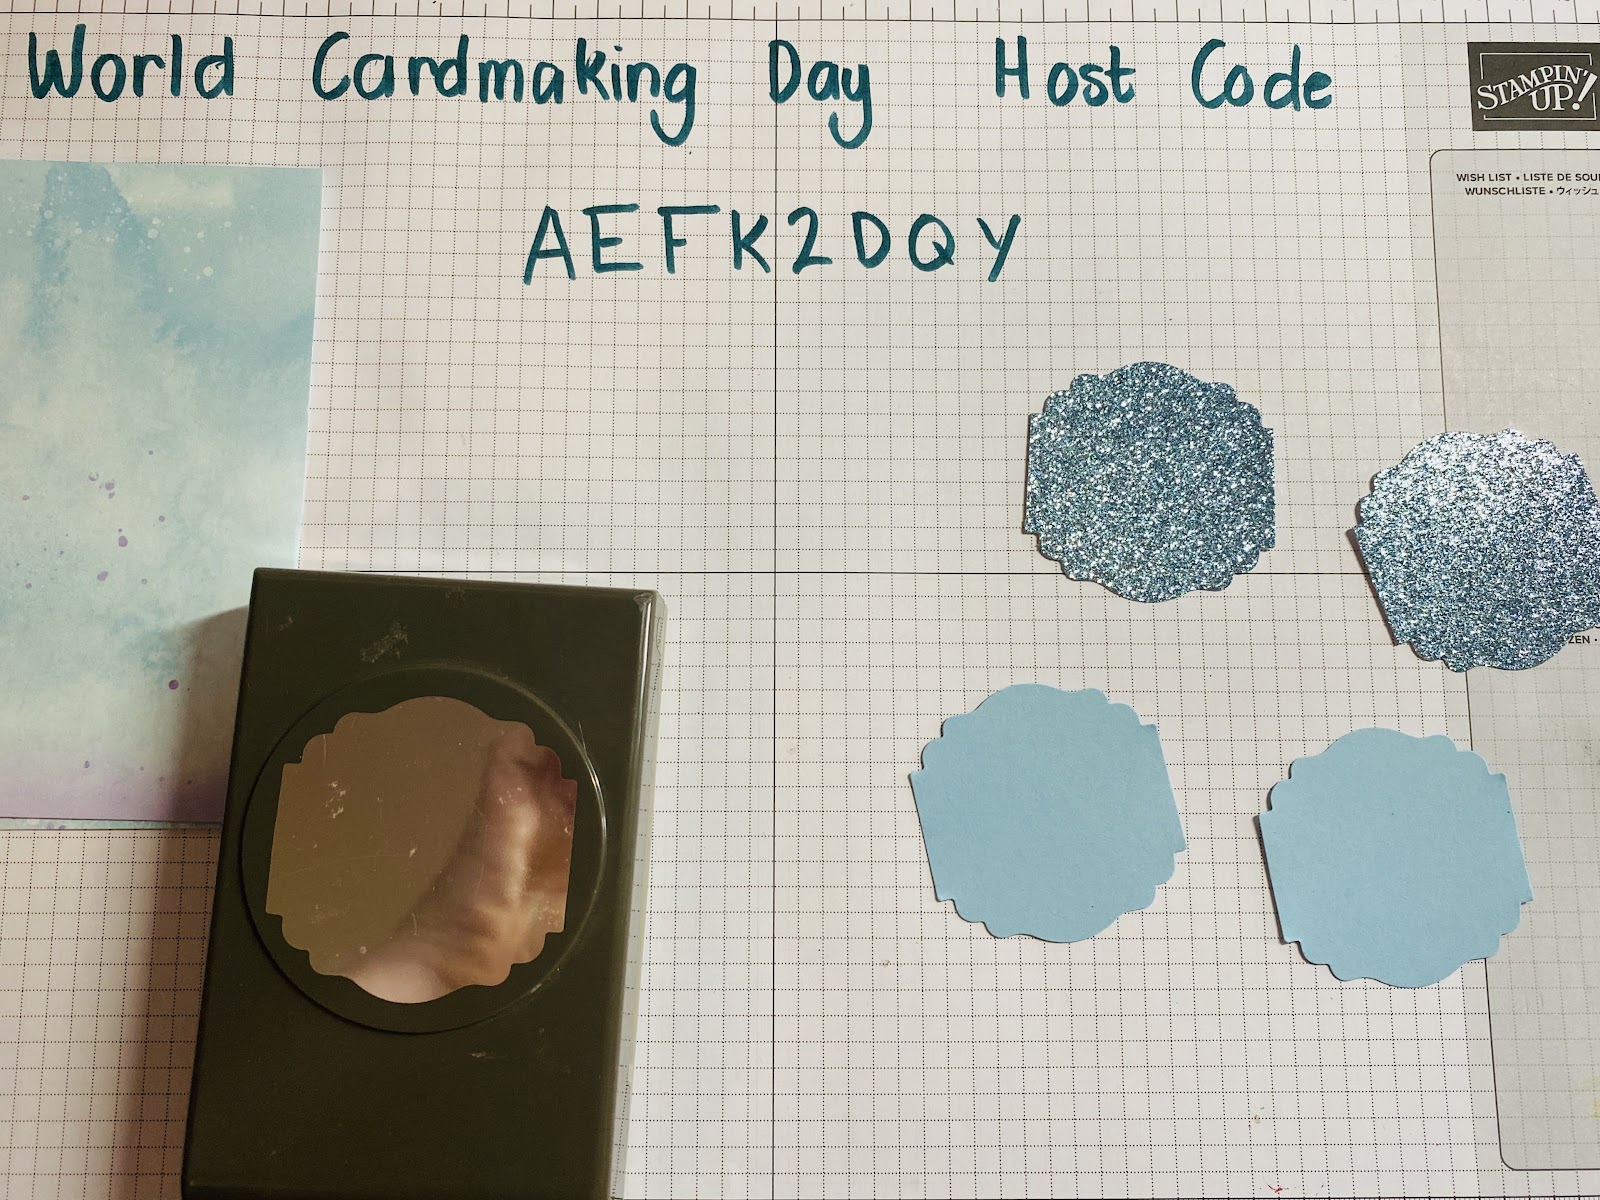
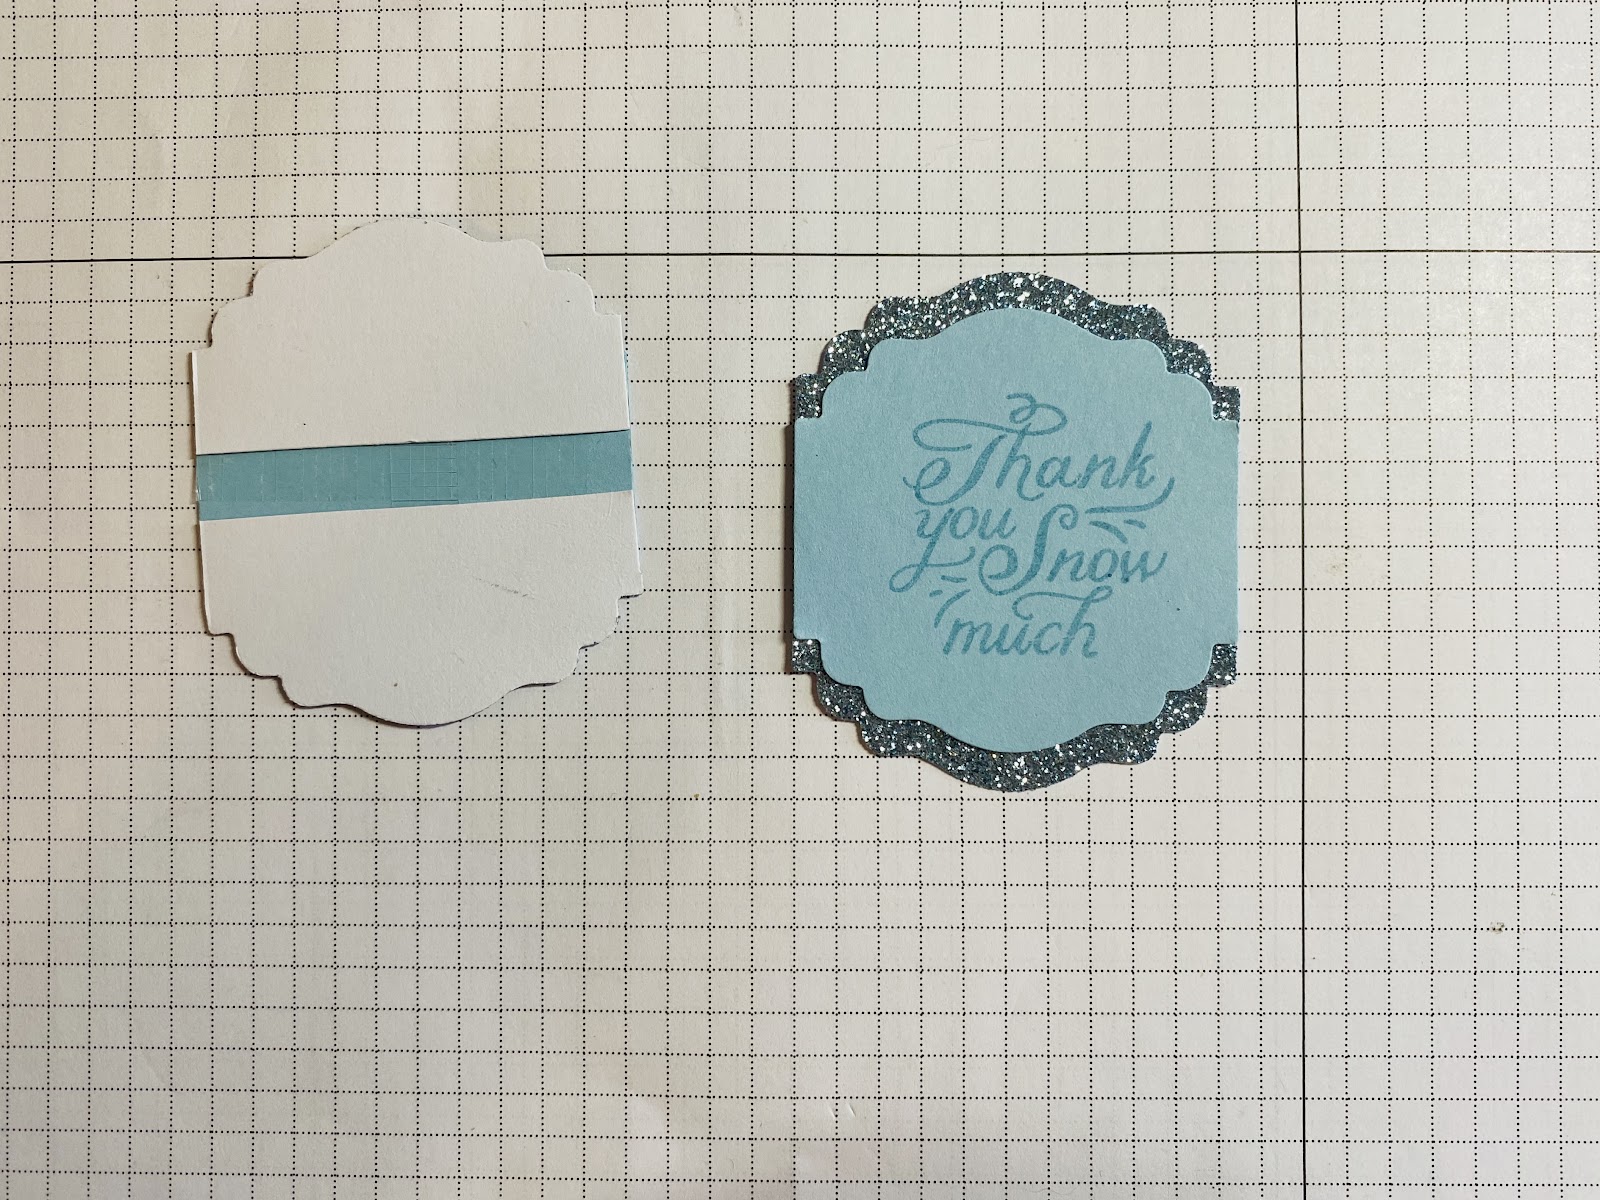
Using the Label Me Lovely Punch, punch out 1 in the Balmy Blue Cardstock and one in the Balmy Blue Glimmer Paper.
Step 4.
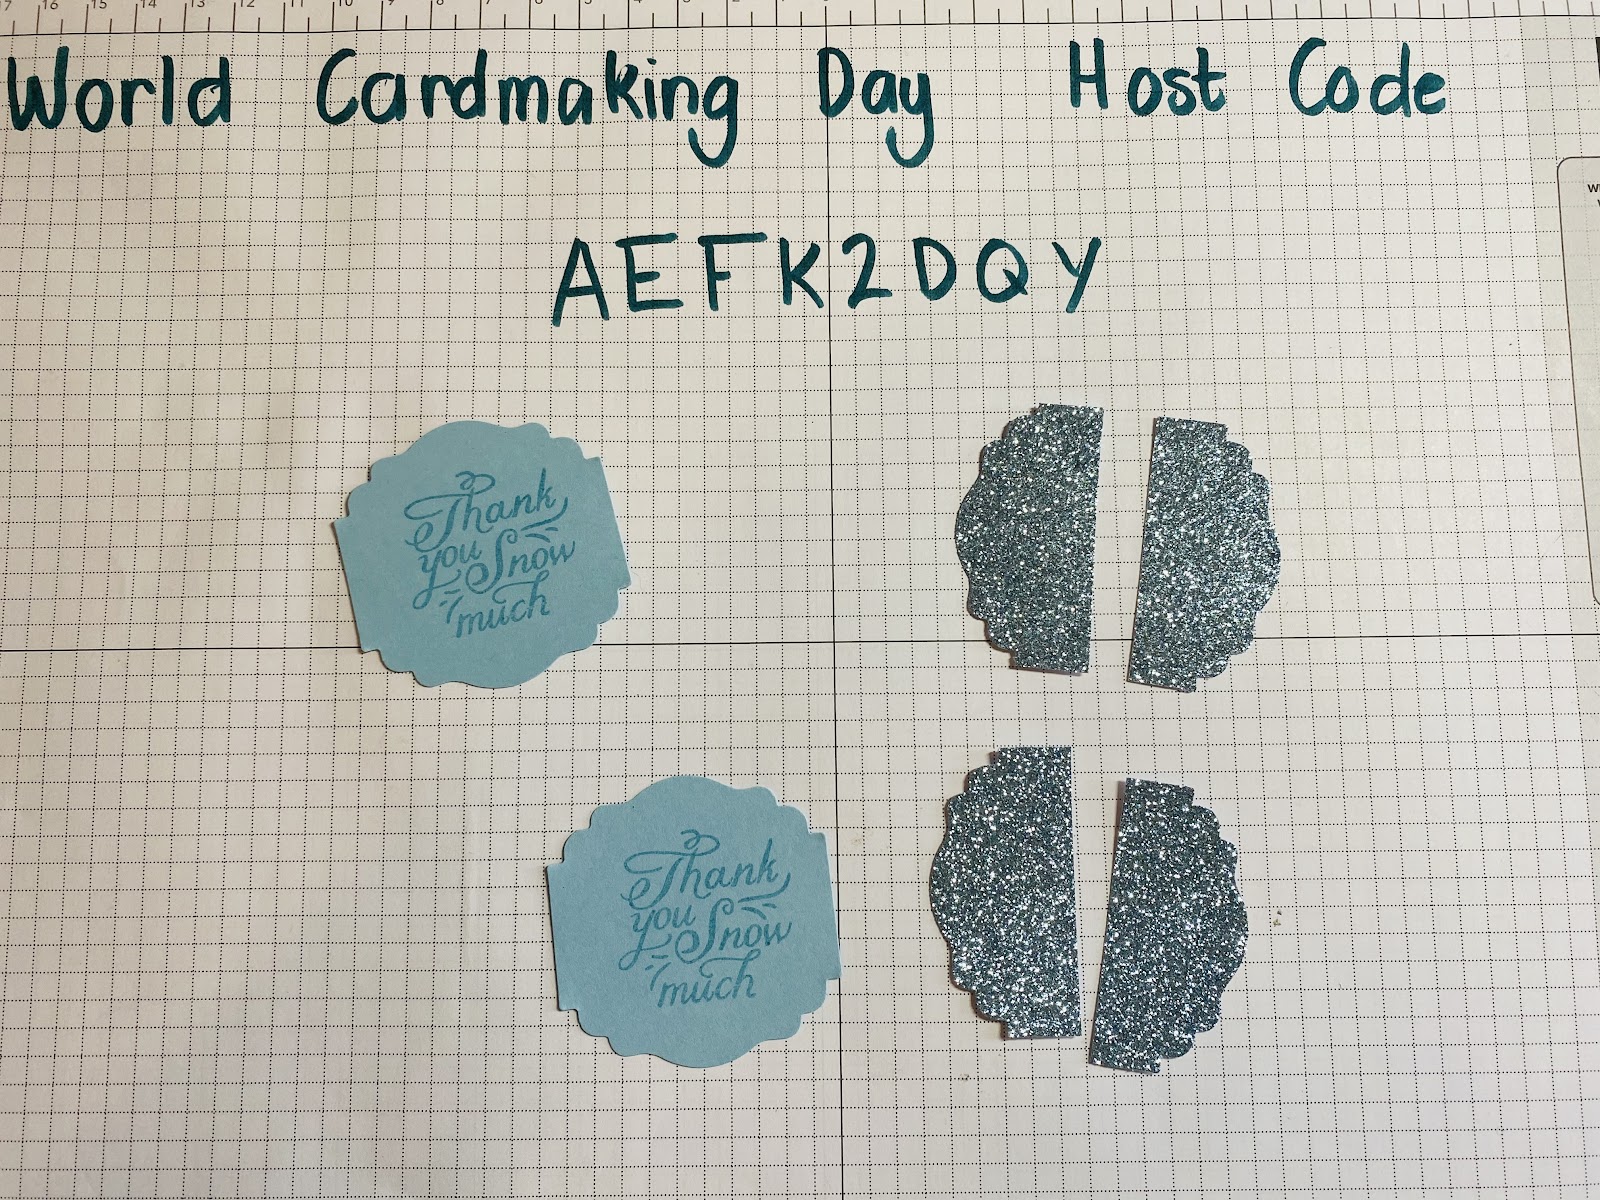
Using the Snowflake Wishes Stamp Set Stamp out your sentiment in the Balmy Blue onto the Balmy Bly punch out.
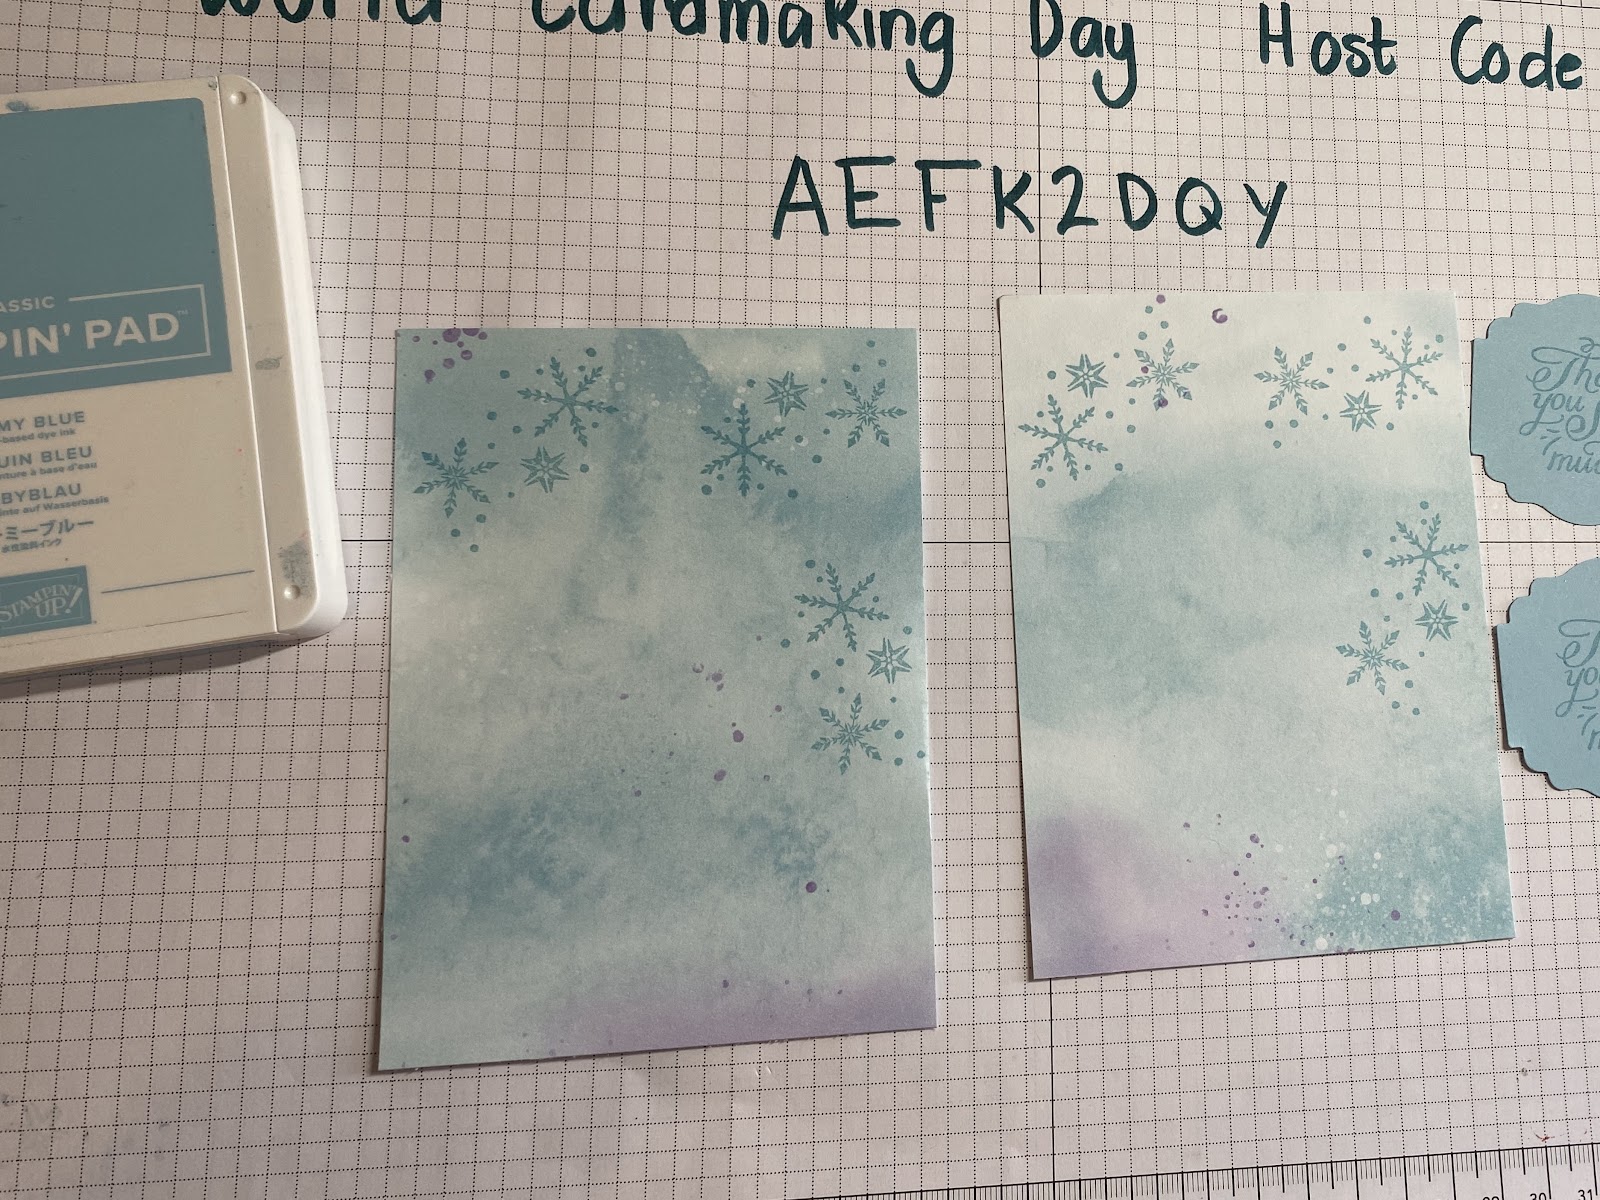
If you wanted to add a little extra using the Balmy Blue in, stamp some snowflakes onto the Snowflake Splendor esigner Paper.
Step 5.
With both the Punch Outs, cut the Balmy Blue Glimmer Paper one in half and glue onto the back of the Cardstock punch out, line it up and separate it a bit so that you have a nice border of the glimmer paper showing……..like my example below.
Then add a few dimentionals on the back.

Step 6.
Place your punch out sentiment onto the front of your card, I added a little bit of the Metallic Mesh Ribbon behind an also placed some Snowflake Adhesive-backed embellishments. This is optional.
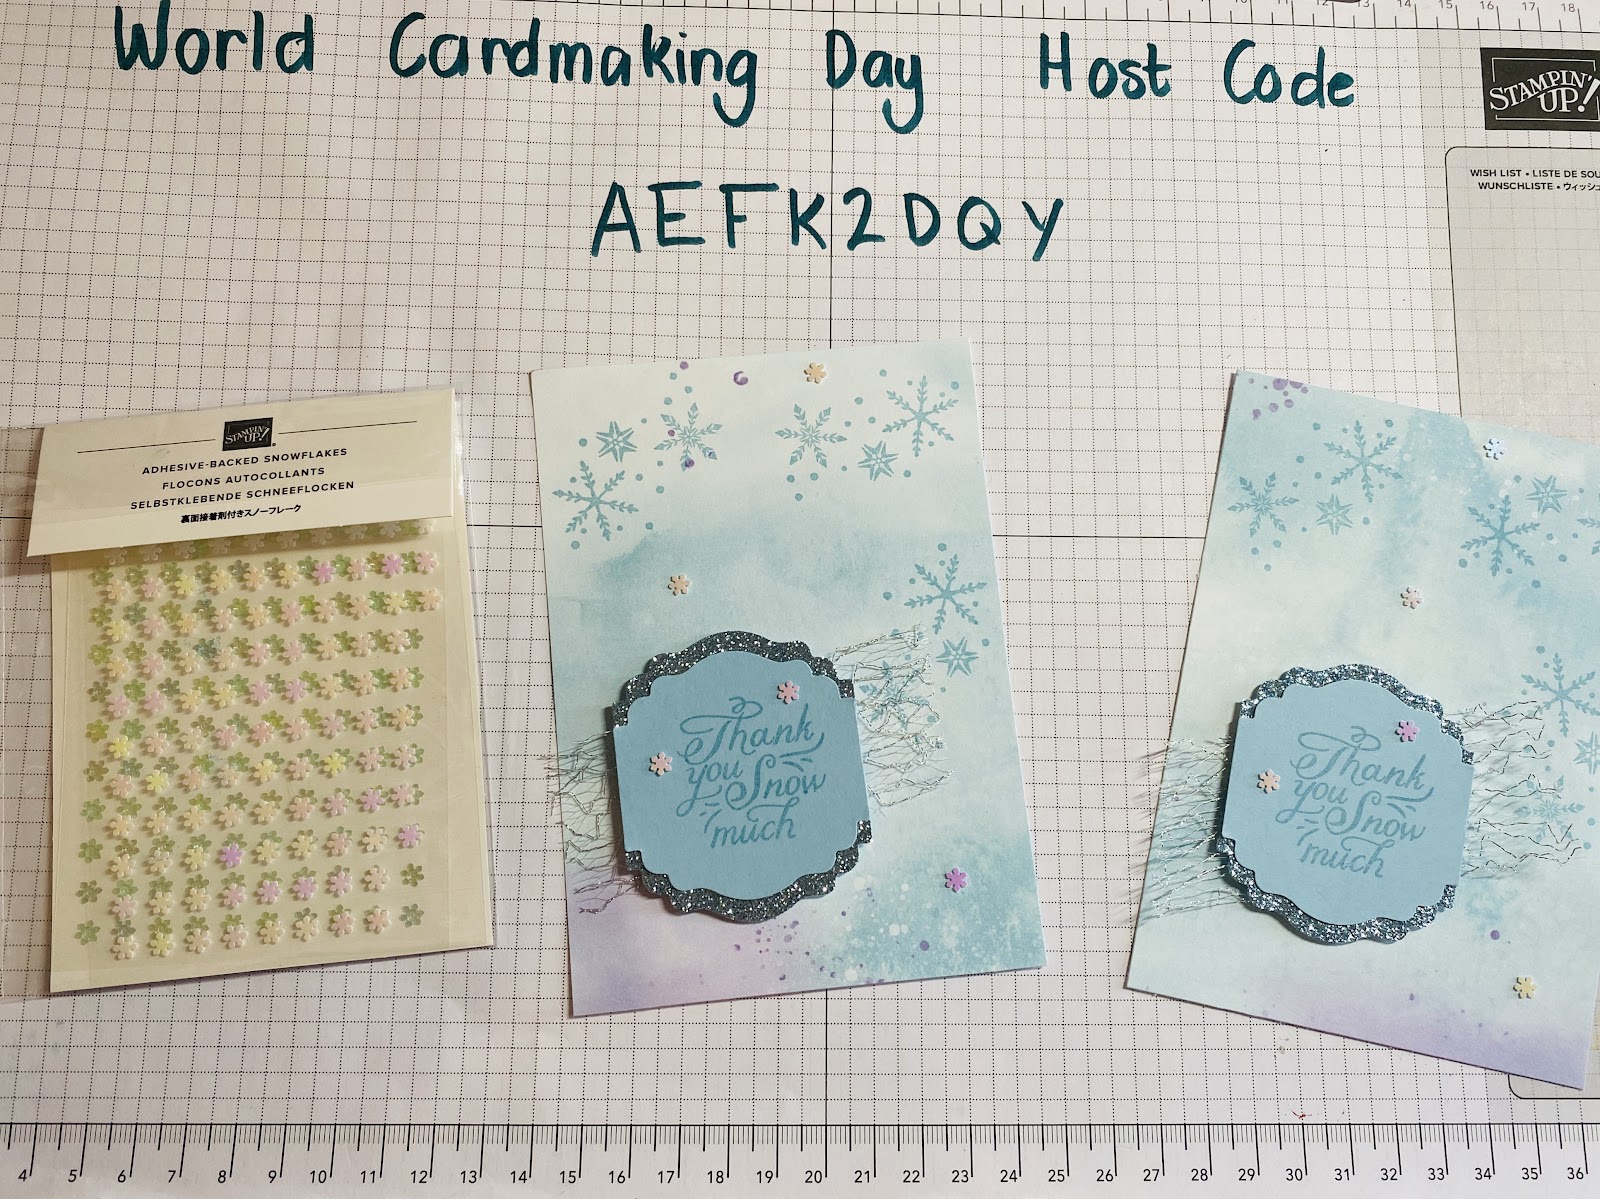
Step 7.
Glue this front onto your pre-cut and folded Balmy Blue Cardstock……..and Tahdah you have made yourself a beautiful Card!
List of Supplies
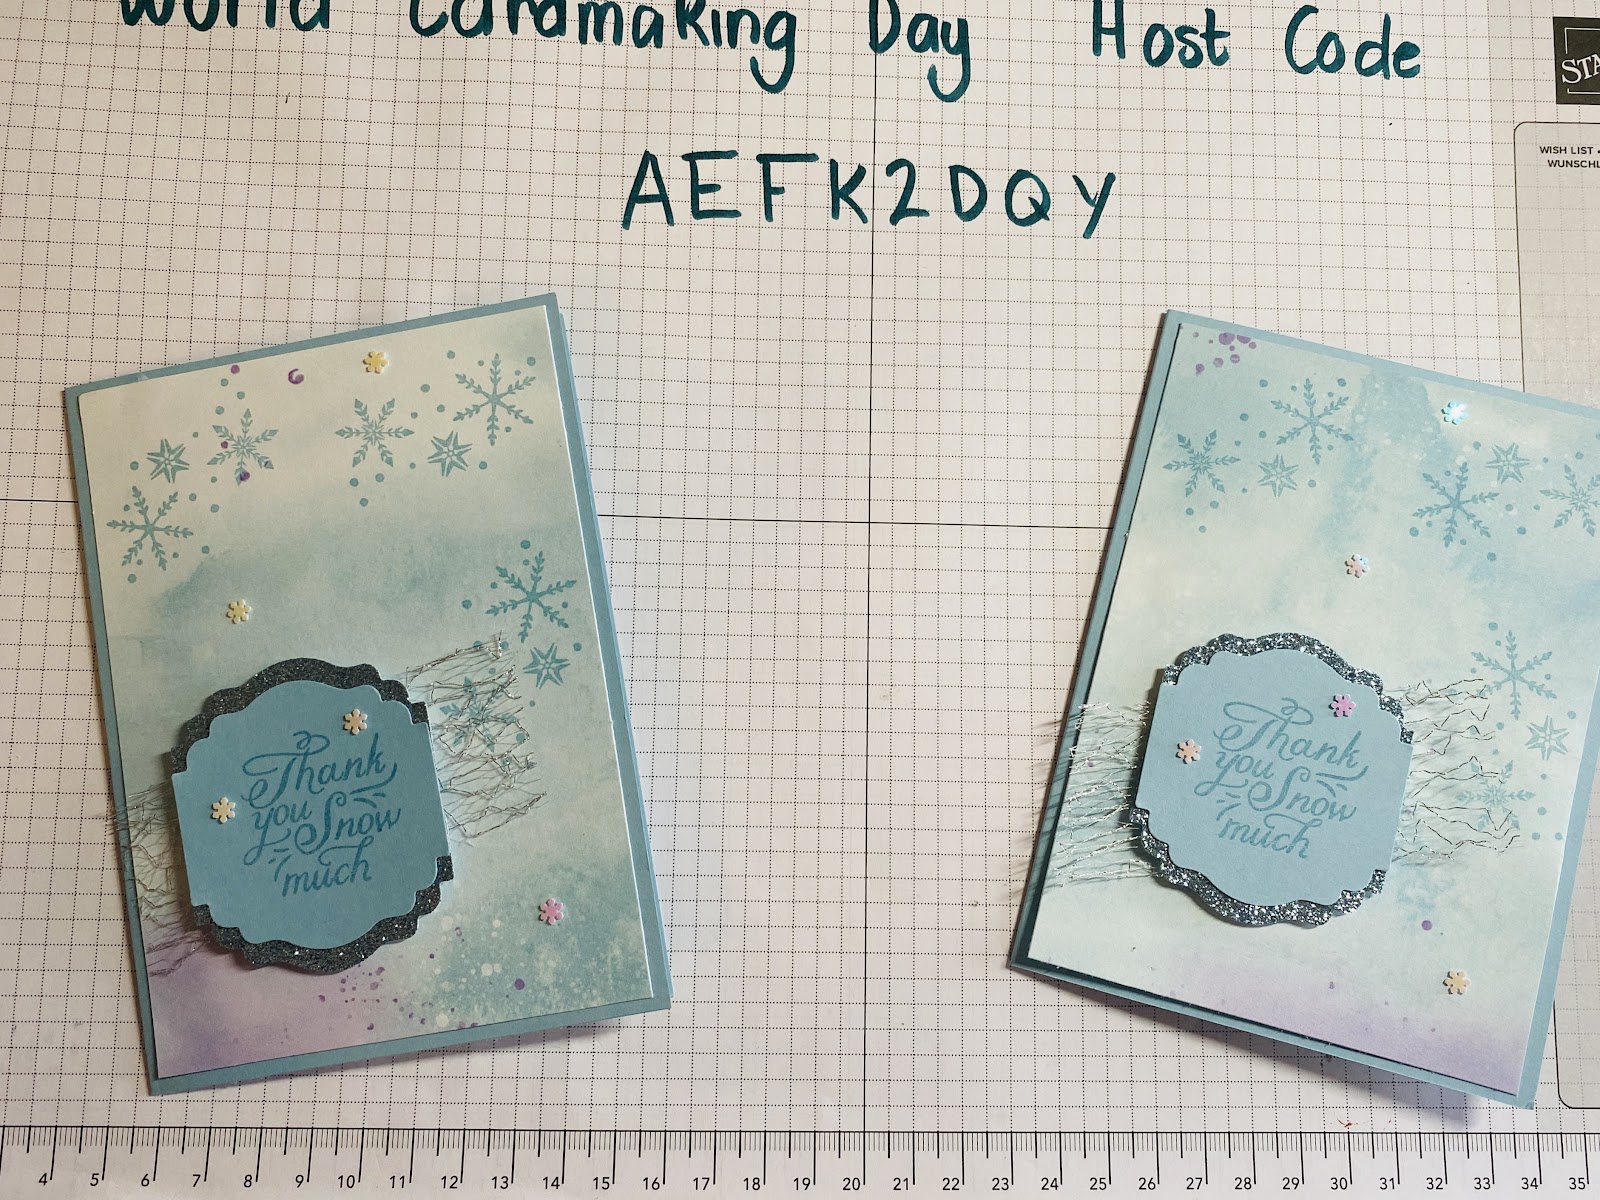
Thank you soo much for your support! I would LOVE to see your cards you make so please send me a photo when you are done!

No comments :
Post a Comment